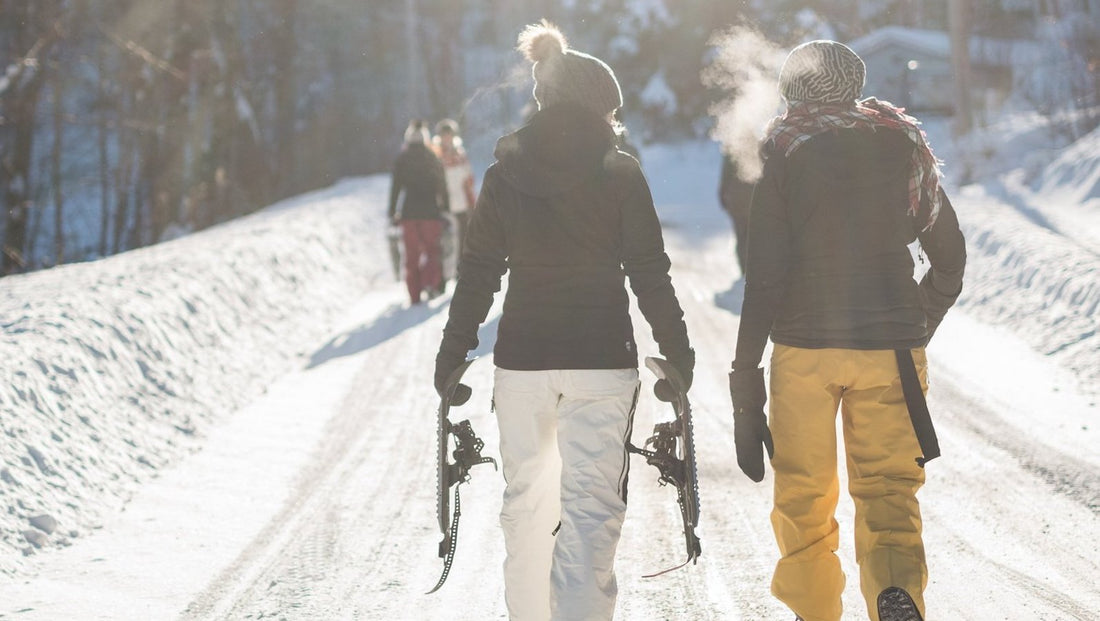
Snowshoeing is the perfect gateway activity for learning to embrace winter. It requires zero skill to get started, and features equipment that’s accessible and easy to use. But even with these advantages, snowshoeing can feel a little awkward for first-timers, so we’ve put together a crash course to help you feel more confident and comfortable on the trail.
Choosing Your Snowshoes
Snowshoes are rated by the maximum weight they can carry while still maintaining adequate “float” above the snow. Common sizes include 150lbs, 200lbs, and 250lbs. You might also see snowshoes listed by lengths such as 21, 25, and 30 inches. Any snowshoe can fit any adult foot, but for maximum comfort, pick the smallest pair that will hold your weight. When picking a pair, don’t forget to include the weight of any backpacks or other gear you’ll be carrying.
Choosing Your Clothing
As with all winter activities, layering is key. Snowshoeing is an active sport, so you may find yourself wanting to remove outer layers as you progress down the trail. Whether or not you wear snow pants is a personal preference. Some people find them too hot for active sports, but if you’ll be in deep snow, you may appreciate their waterproofing qualities.
And shoes? Anything comfortable will work, but if you have a waterproof pair plus wool socks to keep you dry, choose those.
Choosing Your Trail
Where there’s snow, there’s a snowshoeing opportunity! However, some trails do make for a better snowshoeing experience than others. Pick something that is —- Not too steep. Steep inclines can be difficult to manage for first time snowshoers. Pick something gradual or rolling instead.
- Not too deep. Snowshoeing through deep untracked snow can get tiresome quickly if you’re not conditioned for it. For first timers, popular well-tracked winter trails or unplowed forest roads are a good bet. Don’t worry if the snow is packed! Your snowshoes are still doing their job, giving you traction and preventing you from getting stuck up to your thighs in the occasional “pothole”.
- Out of avalanche range. Check the avalanche forecast for your area before heading out. Here in Utah, forecasts can be found at https://utahavalanchecenter.org/. Whenever possible, but especially on high avalanche danger days, avoid trails that pass under steep snowfields. In case of avalanche danger, pick a backup trail in a flatter area, see if your local ski resort has avalanche-controlled snowshoeing trails, or wait until a safer day.
Putting On Your Snowshoes
Snowshoes can be awkward to strap on, especially for the first time. The easiest way to do it? Bring a buddy, and take turns putting them on for each other. Putting a snowshoe on someone else’s foot is much easier than putting one on your own.
When adjusting snowshoes, be sure to position everything just right. Binding straps should point to the outside so they don’t snag on each other while you’re walking. Your feet should be set far enough back in the binding so they can rotate through the toe area of the snowshoe, giving you a full range of movement.
And finally, wait til you get onto the snow to put on your snowshoes. Wearing them in the parking lot can damage their metal crampons.
Using Poles
While poles are not a requirement for snowshoeing, they make for a much steadier experience, and help make the walking feel more natural. Unless you need your hands free to carry something else on the trail, consider bringing poles.


